14 Beauty Secrets From A Make-Up Artist
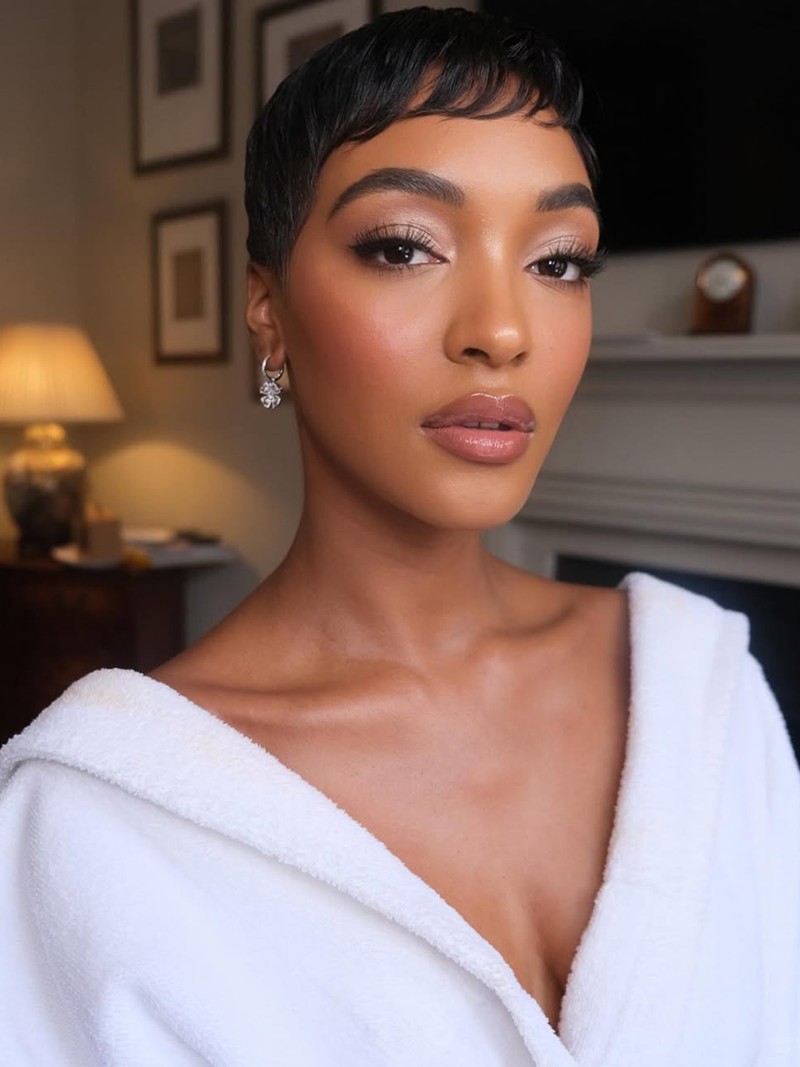
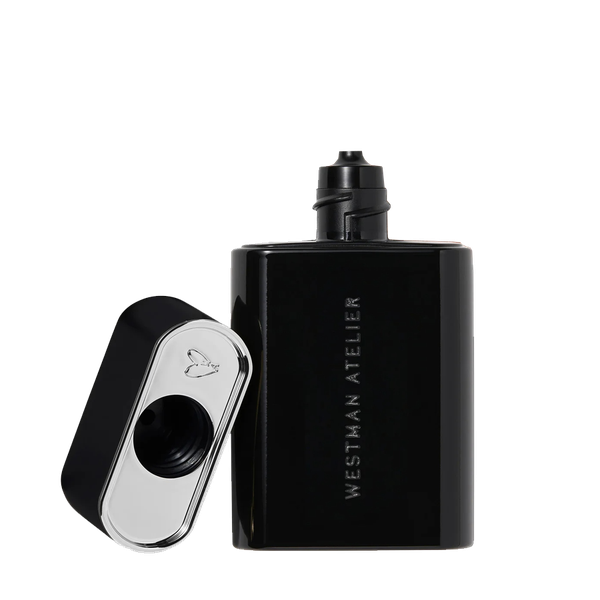
Use Glow-Boosting Formulas
For guaranteed hydration and glow, start with a hyaluronic acid serum. Lock in the moisture with a water-based cream and always use a luminous primer – my current go-to is Westman Atelier’s Liquid Super Loaded Tinted Highlight which creates a flattering brightness. Another trick is to blend a couple of drops of liquid highlighter into your foundation for a fresh, dewy base.
Up Your Gadget Game
A quality cryotherapy tool, like an ice roller, instantly depuffs and enlivens the skin. I also swear by LED light therapy – red light to boost collagen, blue to target breakouts. At the moment, I’m using the MZ Skin version to enhance my natural glow and prepare my skin for make-up.
Melt Your Foundation Into Your Skin
For a flawless airbrushed effect, use a dense stippling brush in circular motions or a damp sponge. My pro tip is to warm up the foundation between your fingers first to help it melt into your skin, giving you a fresh, natural-looking finish.
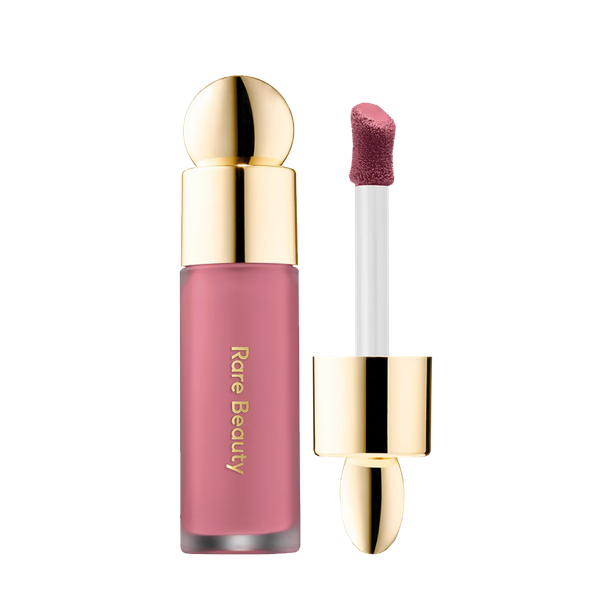
Pay Attention To Blush Placement
Apply blush slightly above the apples of your cheeks and blend upwards towards the temples – think of it as a blush-contour hybrid. For a lifted look, dab a small amount onto the highest point of your cheekbones. A cream formula breathes life back into the skin and blends like a dream. Plus, it doubles up as a tinted lip balm for a monochromatic, cohesive look. I always reach for those by Glossier and Rare Beauty.
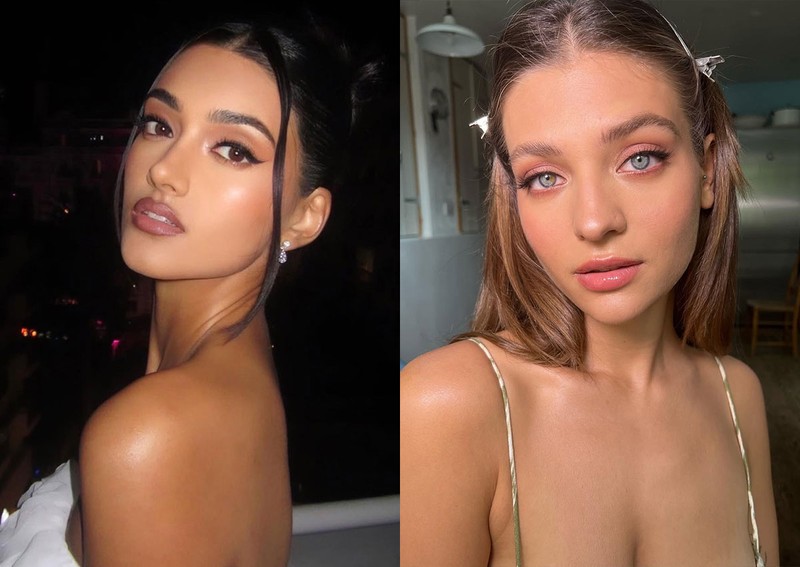
Highlight Key Areas To Look Wide-Awake
Adding a pop of highlighter to the inner corner of the eye, cupid’s blow and brow bone helps you look less tired, as does brightening the waterline with a flesh-toned pencil. Also, curling your lashes properly makes your eyes look bigger and fresher. Sometimes I’ll even add a hint of concealer in a lighter shade to the inner corner for extra brightness.
Use A Dedicated Colour Corrector
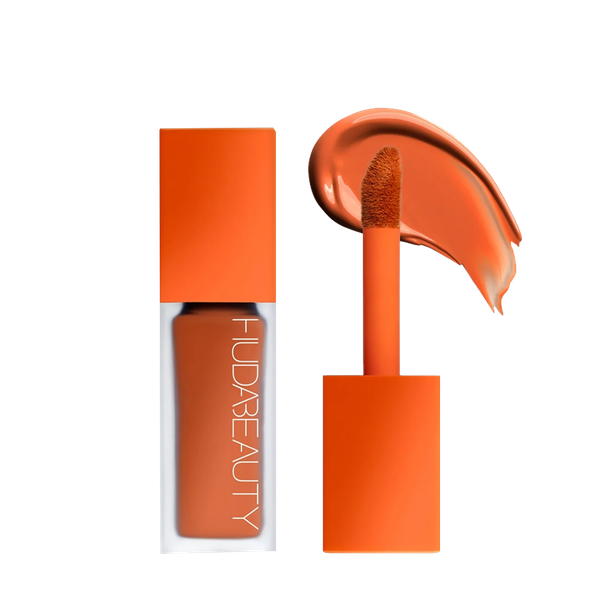
The combination of corrector and concealer helps disguise dark circles. Depending on your skin tone, peachy or salmon tones counteract blues and purples. Tap it in with your ring finger, let it set, then buff a lightweight concealer over the top. I rate Huda Beauty’s Faux Filter Colour Corrector.
Try The Micro-Flick Trick
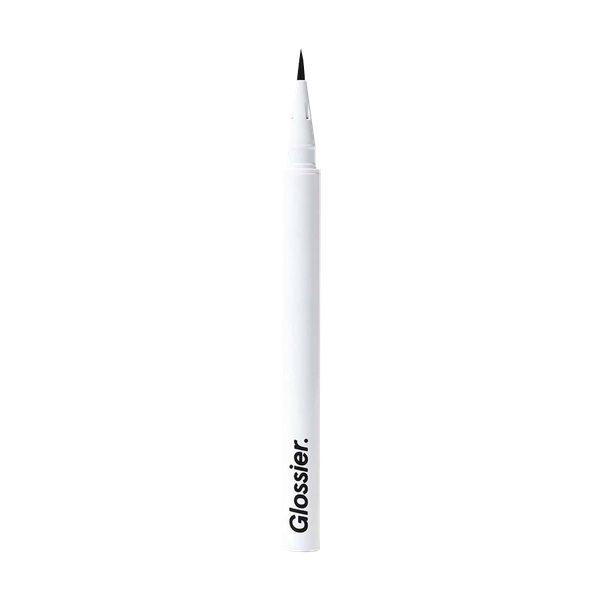
When choosing a brow product, go for a pen with a pointed, ultra-fine tip – especially if you’re wanting to make sparse arches appear fuller, but still natural. I love Glossier’s version, all you have to do is fill in any gaps, drawing hair-like strokes in the direction of the natural hair growth. Also, a tinted fibre gel will add instant volume and fix your brows in place.
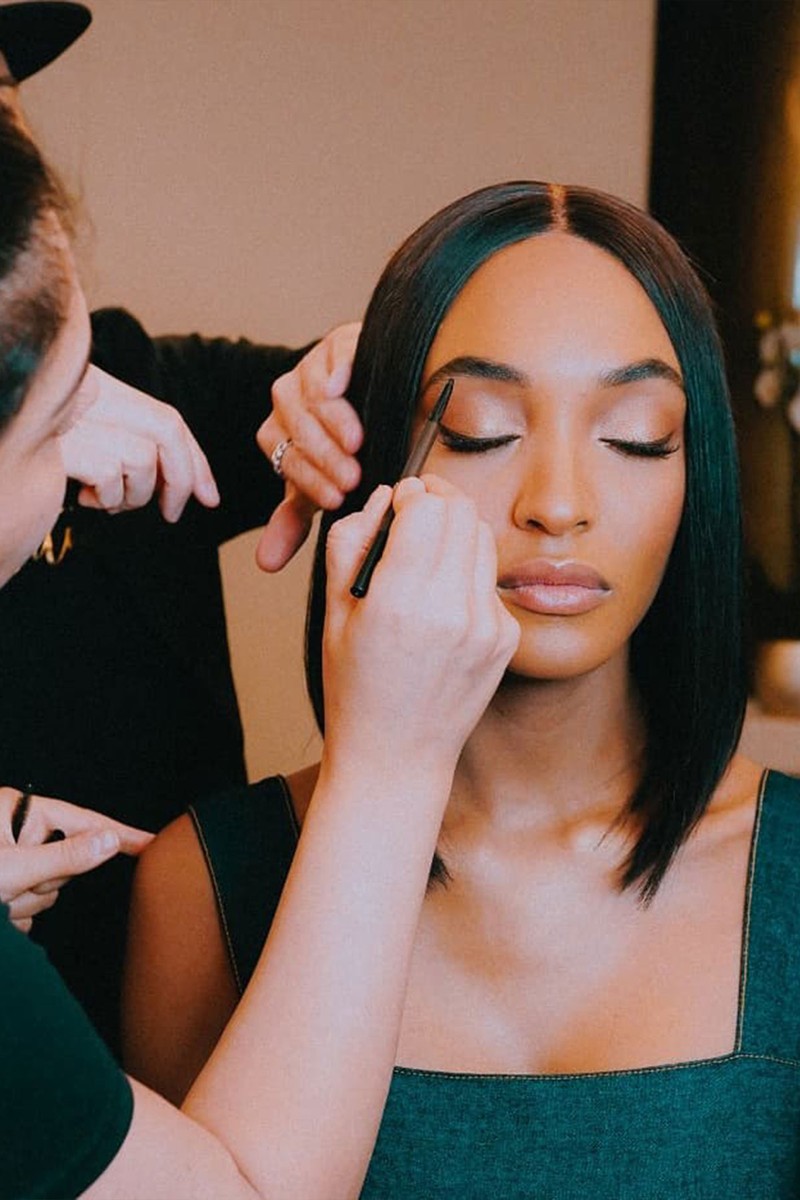
Tailor Your Liner To Suit Your Eye Shape
The key to defining your eyes is understanding how to enhance the shape with liner. For round eyes, go for a kitten flick to elongate. Hooded eyes suit a slim, straight-angled line to avoid clashing with the skin that overlaps the lid. If you have downturned eyes, tightlining with a soft, smudgy effect on the outer third works wonders. Lean into brown shades if you’re after a more muted look.
Layer For Maximum Longevity
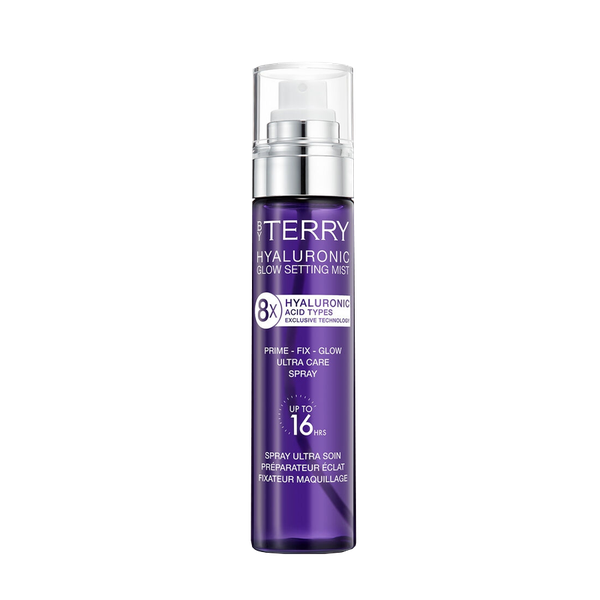
The secret to helping your make-up last is layering. Press translucent powder into your T-zone – not an all-over dusting, simply roll a powder puff over the most oil or crease-prone areas – to reduce shine and cakiness but retain glow. I also recommend spritzing setting spray throughout different stages of your routine, not just at the end. Then, to keep your make-up looking fresh, travel with a mist so your skin appears dewy and energised. I always use the By Terry one, a great multi-tasker as it both sets and hydrates.
Perfect Your Mascara Technique
Mascara application is instinctive, but for the best results, wiggle the wand into the root of your lashes, combing upwards. This creates fullness, while ensuring separation. My holy grail hack for a really fanned-out flutter is to use a lash comb to work through any clumpiness.
Invest In A Few Key Brushes
If I was only allowed five brushes, it would be these: a fluffy eyeshadow brush for a seamless transition between shades; a flat shader brush to pack on pigment and blend concealer; a dense foundation brush for buffing into the skin; an angled cheek brush for blush and bronzer and finally; and a precision brush for details like lips, liner and brows.
Learn To Master Blending
Blending is the secret behind flattering, natural-looking make-up, responsible for making everything you apply appear largely inconspicuous and soft. Use light pressure and build up slowly rather than going in heavy-handed and always blend in circular motions for a truly seamless finish.
Build A Long-Lasting Lip
How to create a lip that lasts is such a common query, but it’s actually quite straightforward. First, draw lip liner all over the lips, not just the outline, so it acts as a base. Apply your lipstick, blot with a tissue, then add a second layer of lipstick. As a final touch, seal it all in with a touch of translucent powder, applied through a tissue, so it doesn’t affect the overall finish but is more likely to stay put.
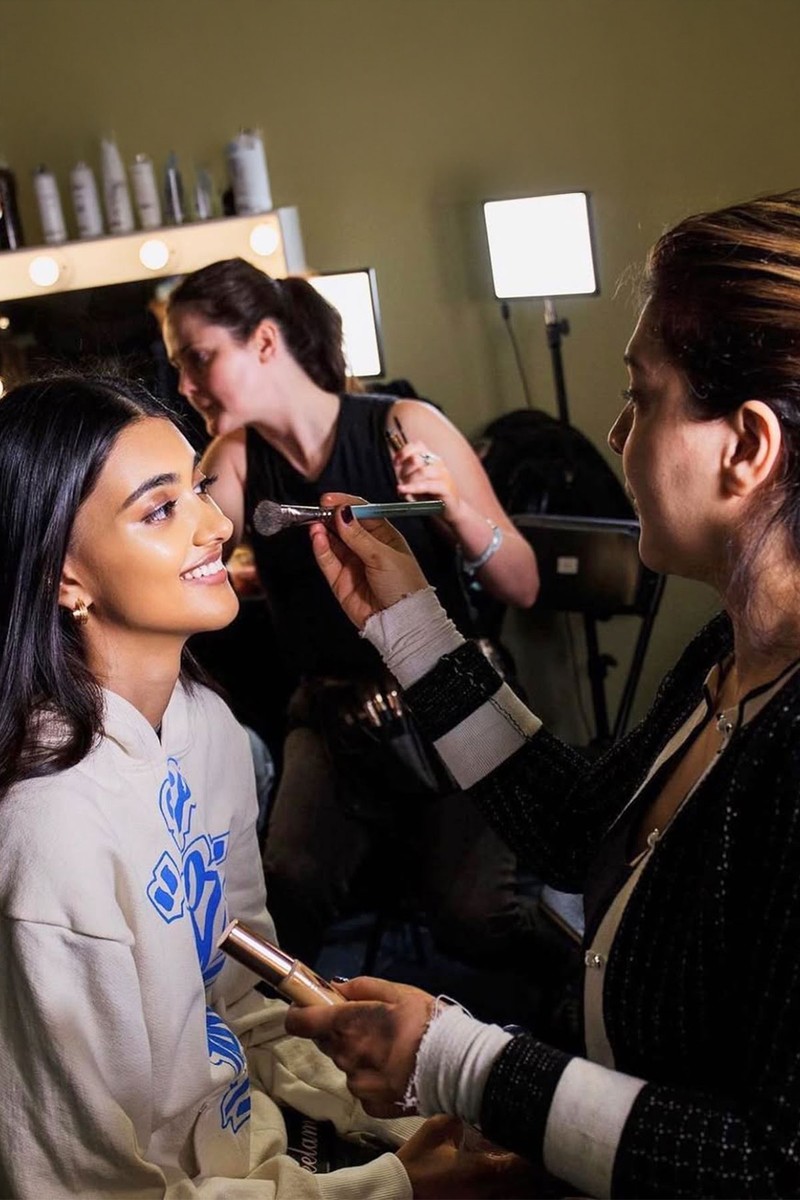
Nail Your Skin Prep
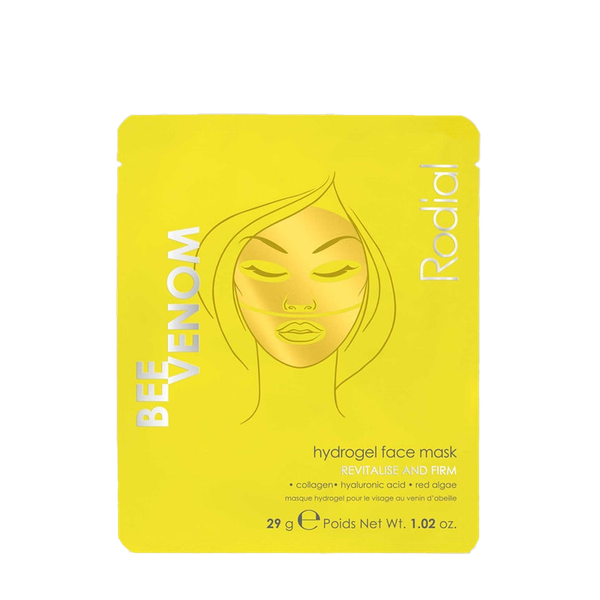
Good make-up starts with good skin prep – no excuses. You’ll find you need less foundation when your skin is prepped properly and so I’ll often use sheet masks, I rate those by Rodial, before starting the base to restore bounce and boost hydration.
Follow @MARIAASADIMAKEUP
SHOP THE EDIT


DISCLAIMER: We endeavour to always credit the correct original source of every image we use. If you think a credit may be incorrect, please contact us at [email protected].
/https%3A%2F%2Fsheerluxe.me%2Fsites%2Fsheerluxe-me%2Ffiles%2Fwebsite-images%2F2023%2F07%2Fsl-middle-east_0.jpg?itok=mM7sU9m0)